
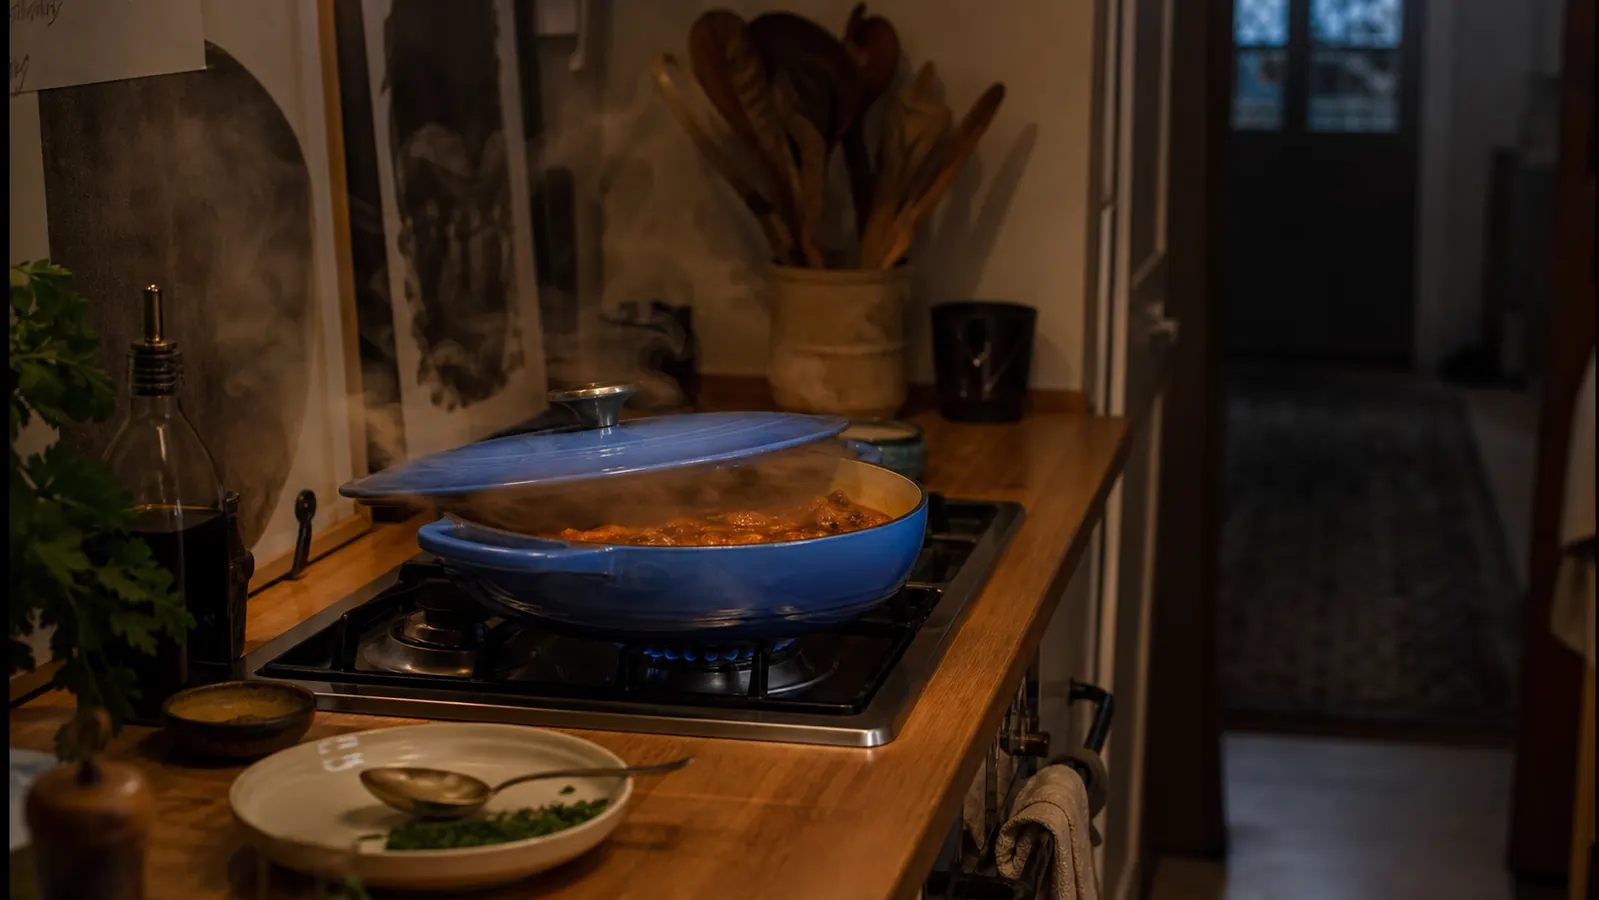
Braising recipes are almost always written for a pot I don't have room to store. Every recipe calls for a seven-quart Dutch oven, sized to feed six and take up a third of the lower cabinet, and I live in a kitchen with one galley run of counter and a cabinet that already holds a stockpot, a skillet, and a baking sheet wedged in sideways. For a long time that meant braising just didn't happen here. Stews got made in whatever pan was closest to the right size, which usually meant liquid boiling over the rim or meat that never quite got tender because the pan was too shallow to hold real heat and lost it the second the lid came off to check on things. What changed it was switching to the Lodge Essential Enamel Braiser, a wide 3.5-quart pot built for the kind of small-batch braising I actually do on a Tuesday night, not the kind a magazine photographs for eight people around a table.
Braising itself isn't complicated. Sear, add liquid, cover, cook low and slow. But doing it well in a small kitchen means paying attention to a few things a bigger kitchen can ignore: how much the pot can actually hold, how much stove space a covered pot needs while it simmers next to whatever else is happening on the other burner, and what to do about the extra pan you'd normally dirty searing before transferring everything into a bigger vessel. Here's the process I actually use, in five steps, with the braiser doing double duty as both the sear pan and the braising pot, which is most of the point of owning one in a kitchen this size.
One pot instead of a searing pan plus a Dutch oven you can't store
The Lodge Essential Enamel Braiser sears and braises in the same 3.5-quart pot, sized for two to four servings instead of a family of six. See today's price on Amazon and check if the wide, shallow shape fits how you actually cook.
Amazon Check Today's Price on Amazon →Step 1: Match your cut to the pot, not the recipe
A 3.5-quart braiser holds less than half of what a standard Dutch oven does, and the shape matters as much as the volume. Mine is wide and shallow rather than deep, so a 3 to 4 pound chuck roast fits with room to spare, six bone-in chicken thighs lie flat in a single layer instead of stacked two deep, and a rack of short ribs for two or three fits without pieces crowding each other along the sides. A whole brisket does not fit, and neither does a recipe written to feed a dinner party. That's the trade I made on purpose.
Most published braise recipes assume the bigger pot and the bigger cut, so the first real step isn't a cooking step at all, it's shopping. I ask the butcher counter to trim a chuck roast down to what actually fits, or I buy short ribs by the piece instead of the full rack, rather than trying to cram a six-serving recipe into a pot that was never meant to hold it. Whatever doesn't fit in the pot doesn't come home with me, which has quietly fixed a lot of overbuying I used to do without noticing, back when the size of the recipe decided the size of the grocery run instead of the size of the pot.
If there's extra meat I want to cook anyway, I braise it in two smaller batches on separate nights rather than forcing one oversized batch into an undersized pot. It takes more evenings, not more effort, and the pot never ends up crowded or overflowing partway through the sear. I go into more detail on exactly what fits and what doesn't in the full year-long review, including the one roast that genuinely didn't fit and what I did instead once I realized it halfway through trimming it.
Step 2: Sear in the same pot, in batches if you have to
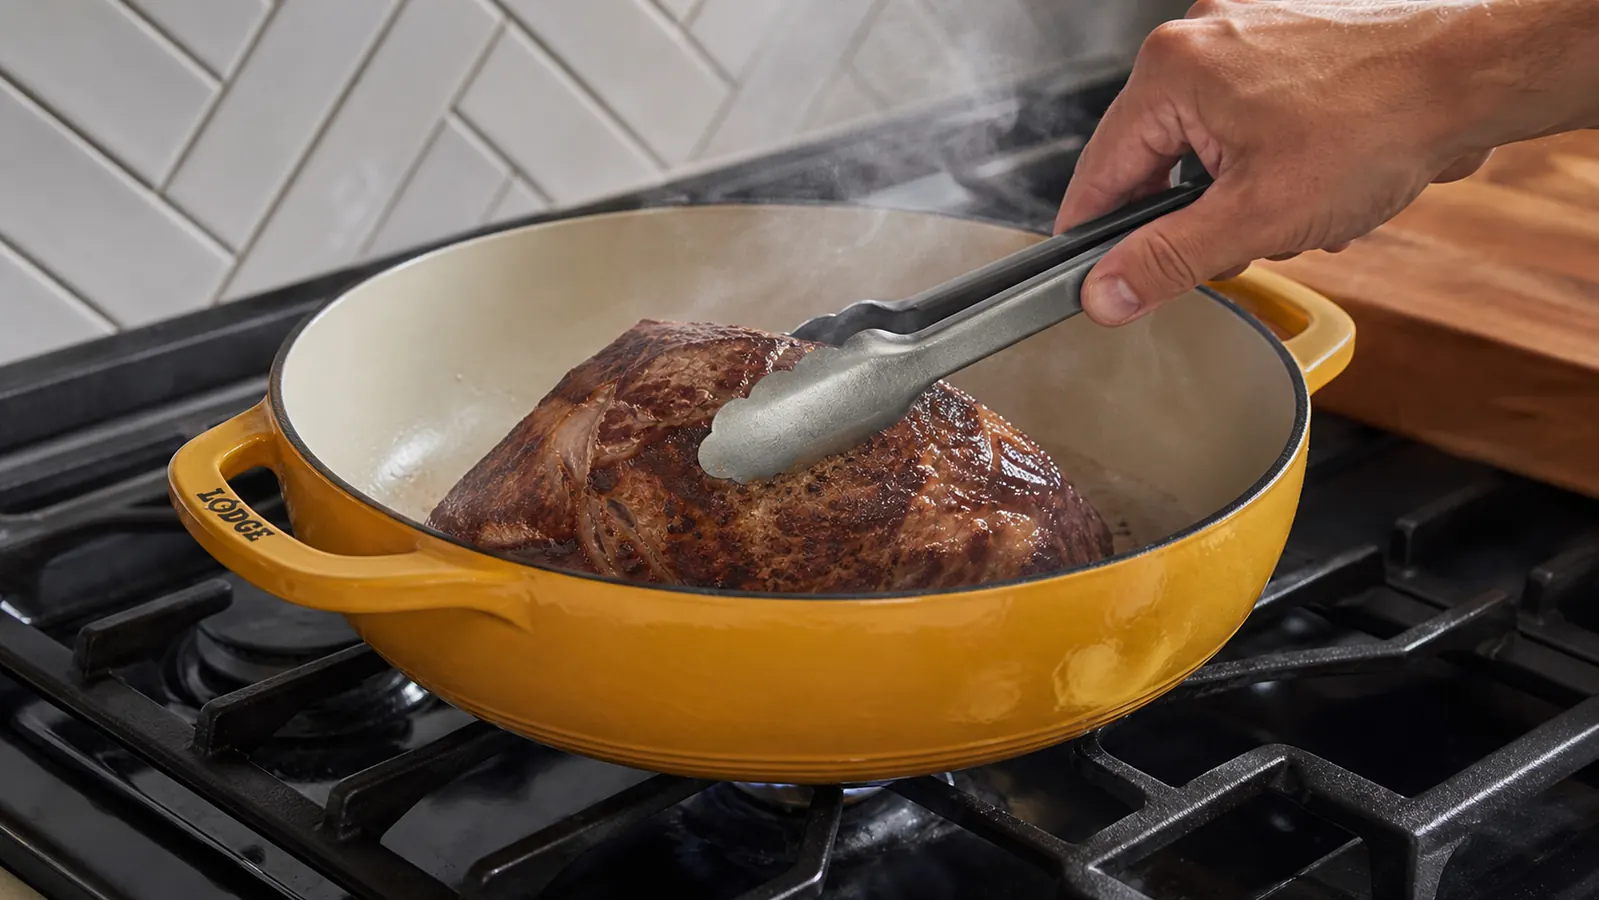
Pat the meat dry, salt it, and sear it directly in the braiser over medium-high heat rather than dirtying a separate skillet first. The enamel surface holds heat evenly enough to get a real crust, not the pale gray you get from crowding a thin nonstick pan, but it also means giving the meat actual space. For six chicken thighs, that's usually two batches of three rather than all six at once. Crowd it and you get meat that steams instead of browns, which is a flavor loss you can't get back later in the process no matter how long it simmers afterward.
Searing in the same pot you'll braise in is really the whole argument for owning a piece of cookware like this in a small kitchen. There's no transferring a hot, greasy skillet across a twenty-six inch counter, no second pan to wash, and no cooling gap between searing and building the braising liquid where the fond on the bottom starts to go cold and stubborn. One pot, start to finish, is the entire small-kitchen case for the Lodge braiser over a separate skillet and stockpot combination, and it's the reason it earns a permanent spot instead of getting stored behind everything else.
Step 3: Deglaze and build the braising liquid while the pan is still hot
Once the meat is seared and set aside on a plate, I pour off most of the rendered fat, leaving just enough to cook the aromatics in, usually a diced onion, a couple of smashed garlic cloves, and a chopped carrot or two. They go straight into the same hot pot, no rinsing, no swapping pans, and cook for three or four minutes until the onion softens and starts to turn translucent at the edges.
Then comes the part that actually builds the flavor: deglazing. A splash of wine, broth, or even a spoonful of vinegar poured into the hot pot will lift the browned bits stuck to the bottom, the fond, if you scrape at it with a wooden spoon while the liquid bubbles. That fond is concentrated flavor from the sear in step two, and leaving it stuck to the bottom of the pot is the single most common way a braise ends up tasting flat no matter how much seasoning gets added later on.
The seared meat goes back into the pot, and I add just enough liquid, more broth, plus whatever herbs I'm using, to come partway up the sides of the meat, not to cover it completely. That's the actual difference between braising and boiling, and it's an easy step to get wrong in a small pot where it feels like there's less room to be precise. Enough liquid to keep things from drying out, not so much that the meat is fully submerged and simmering instead of braising. If I'm adding root vegetables, potatoes, more carrots, a quartered onion, they go in around this point too, tucked in beside the meat rather than under it, so they cook in the same liquid without turning to mush before the meat is done.
Step 4: Cover it, drop the heat, and stop checking on it
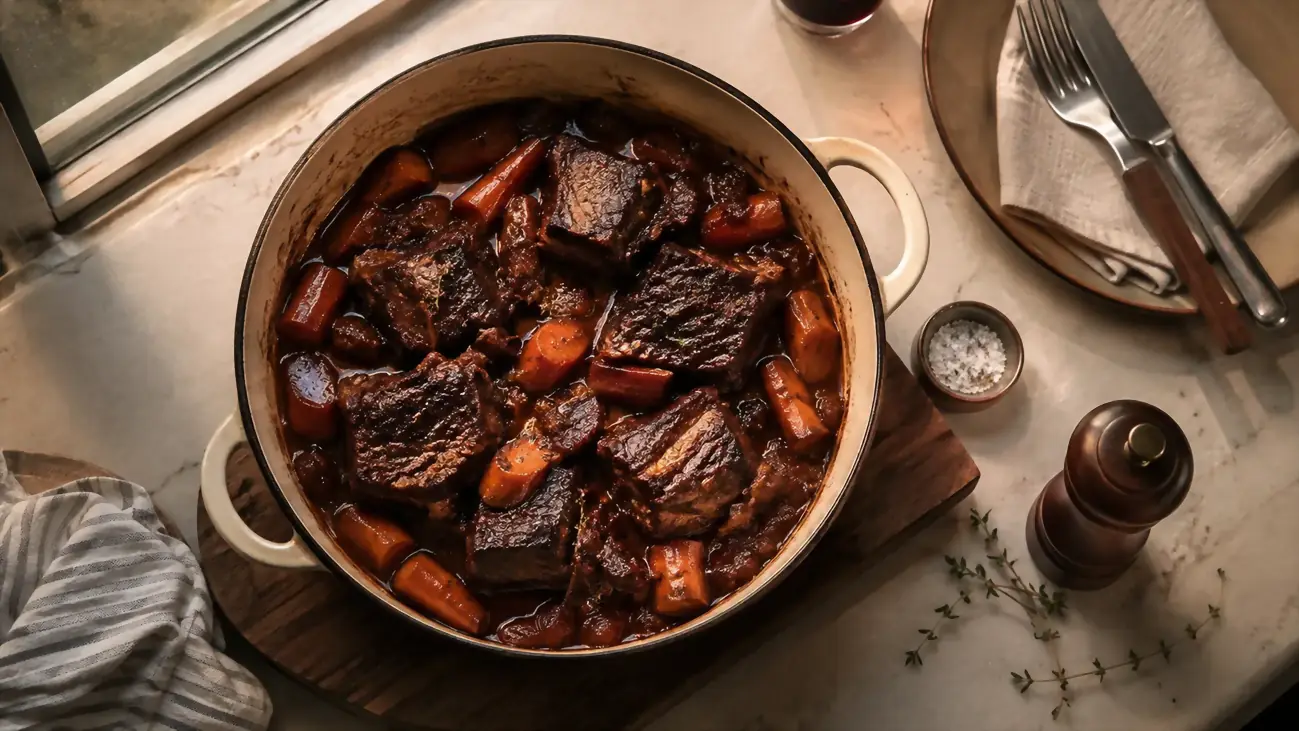
From here it's two options. A 300 degree oven with the lid on is hands off and the most even, and it's what I use when the oven isn't already busy with something else. When it is, a low simmer on the stovetop with the heat as low as it'll go and still show a slow, occasional bubble works nearly as well. The braiser's heavy enamel lid sits tight and holds moisture in either way, which is part of why the pot doesn't need constant babysitting once it's covered, unlike a thinner lid that rattles and lets steam slip out the whole time it's on.
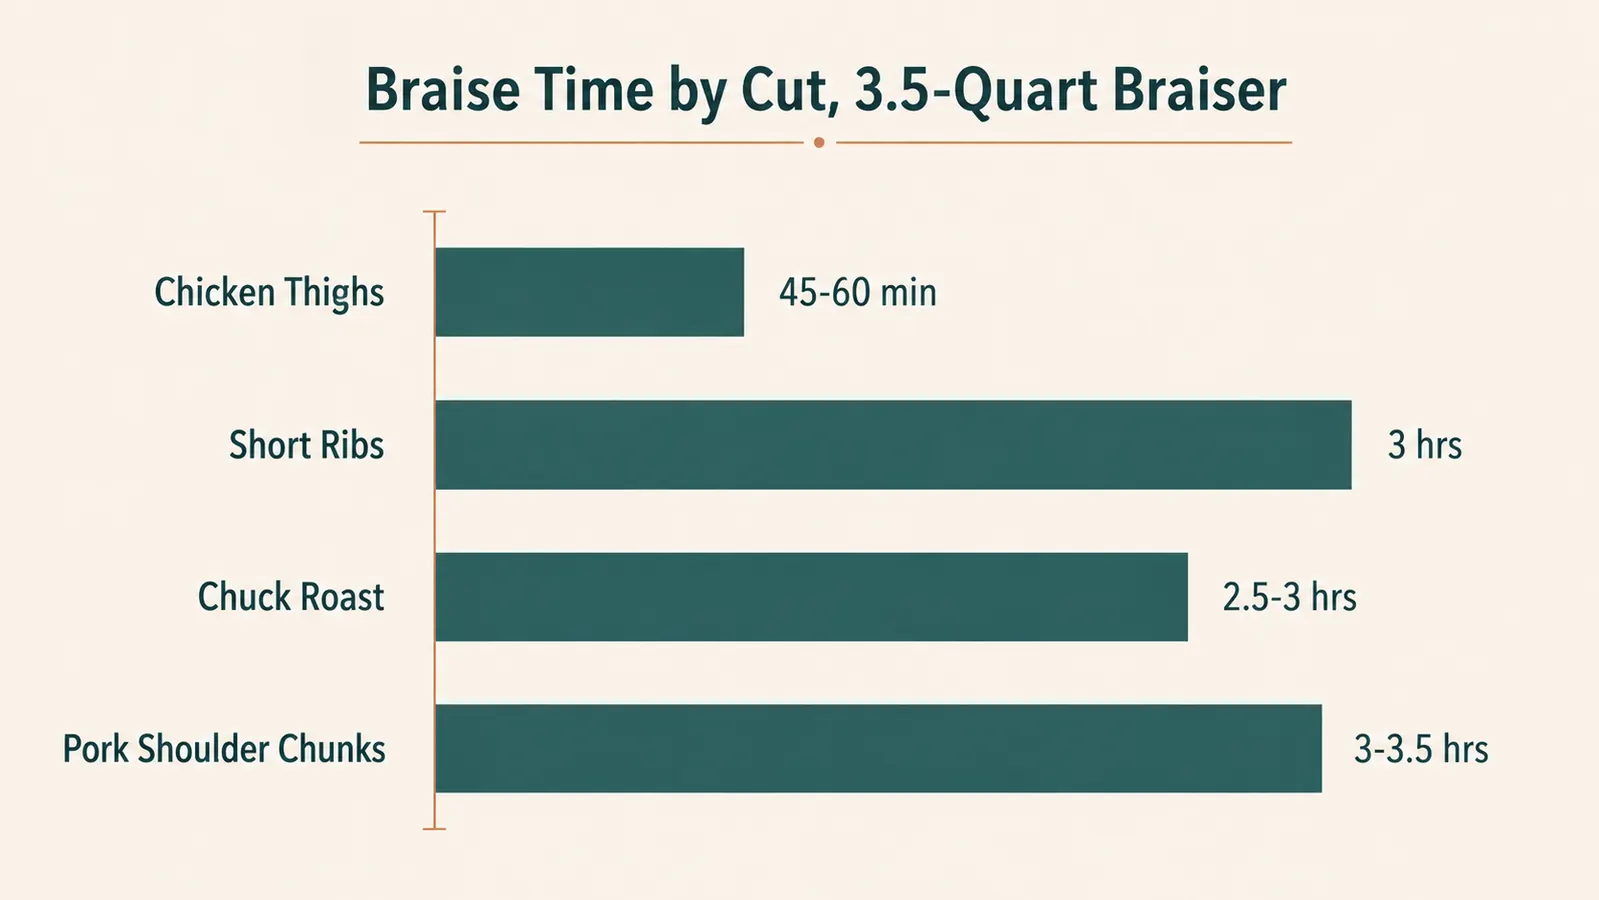
Timing depends on the cut. Chicken thighs are usually done in 45 minutes to an hour. Chuck roast wants closer to 2.5 to 3 hours. Short ribs and pork shoulder chunks both land around 3 hours, sometimes closer to 3.5 depending on the size of the pieces. The real test isn't a clock, it's a fork. When it slides into the meat with almost no resistance, it's done. Pull it too early and it's tough in a way more time won't fix once it's off the heat.
I check the liquid level once, about halfway through, mostly out of habit rather than necessity, since the tight lid keeps most of it from evaporating in a pot this size. If it looks noticeably low, a splash more broth goes in and the lid goes back on. That's the extent of the attention this step actually needs, which is a bigger deal than it sounds like on an evening that already has other things pulling at it. I ran into one early batch where the lid didn't seat quite right because a stray potato chunk was propping up one edge, which I wrote about along with a few other early mistakes in the honest review.
Step 5: Rest, skim the fat, then reduce what's left
Once the meat is fork-tender, I let the pot sit off the heat for about ten minutes with the lid still on before doing anything else. That short rest lets the juices settle back into the meat instead of running out the second it's cut. Then I lift the meat out onto a plate and skim the layer of fat pooled on top of the braising liquid with a large spoon, tilting the pot slightly to make it easier to reach into the corner where most of it collects.
If the liquid that's left is thinner than I want for a sauce, I put the braiser back on the stovetop uncovered and let it reduce for a few minutes at a steady simmer, stirring occasionally, until it thickens up. The enamel surface makes this last stretch simple, no scorched bare cast iron to scrub afterward, no re-seasoning ritual, just a rinse and a wipe once the pot's cooled down, which is the part of owning a piece of cookware like the Lodge braiser that I actually notice on a weeknight when the last thing I want is a second chore waiting at the sink.
What Else Helps
None of this needs much beyond the pot itself, but a few small things make it easier in a kitchen this size. A heat-safe trivet keeps the enamel from touching the counter directly once it comes off the burner, since the pot stays hot for a long time after the heat is off, longer than a thin steel pan would. A stiff-bristled brush, not steel wool, handles any stuck bits on the enamel without scratching the coating, which matters more here than it would on bare cast iron since there's no seasoning layer to protect but there is a glossy finish that scratches can dull over time. And if I'm braising a bigger batch to freeze half of it, I keep a couple of small lidded containers on hand so the extra portion doesn't sit in the fridge in the pot I need for tomorrow's dinner.
For more on why the wide, shallow shape beats a bulkier Dutch oven in a kitchen without much cabinet room, I laid out the full case here, and if you're still weighing the two pots against each other directly, this comparison goes through weight, storage, and everyday use side by side, including where a bigger pot genuinely does win.
The braiser didn't make me a better cook. It just gave me a pot that could hold a real dinner in a kitchen that couldn't hold a real pot.
A braising pot sized for how you actually cook, not a dinner party
If your kitchen doesn't have room for a seven-quart Dutch oven, the Lodge Essential Enamel Braiser handles searing and braising in one 3.5-quart pot built for two to four servings. Check today's price on Amazon.
Amazon Check Today's Price on Amazon →