
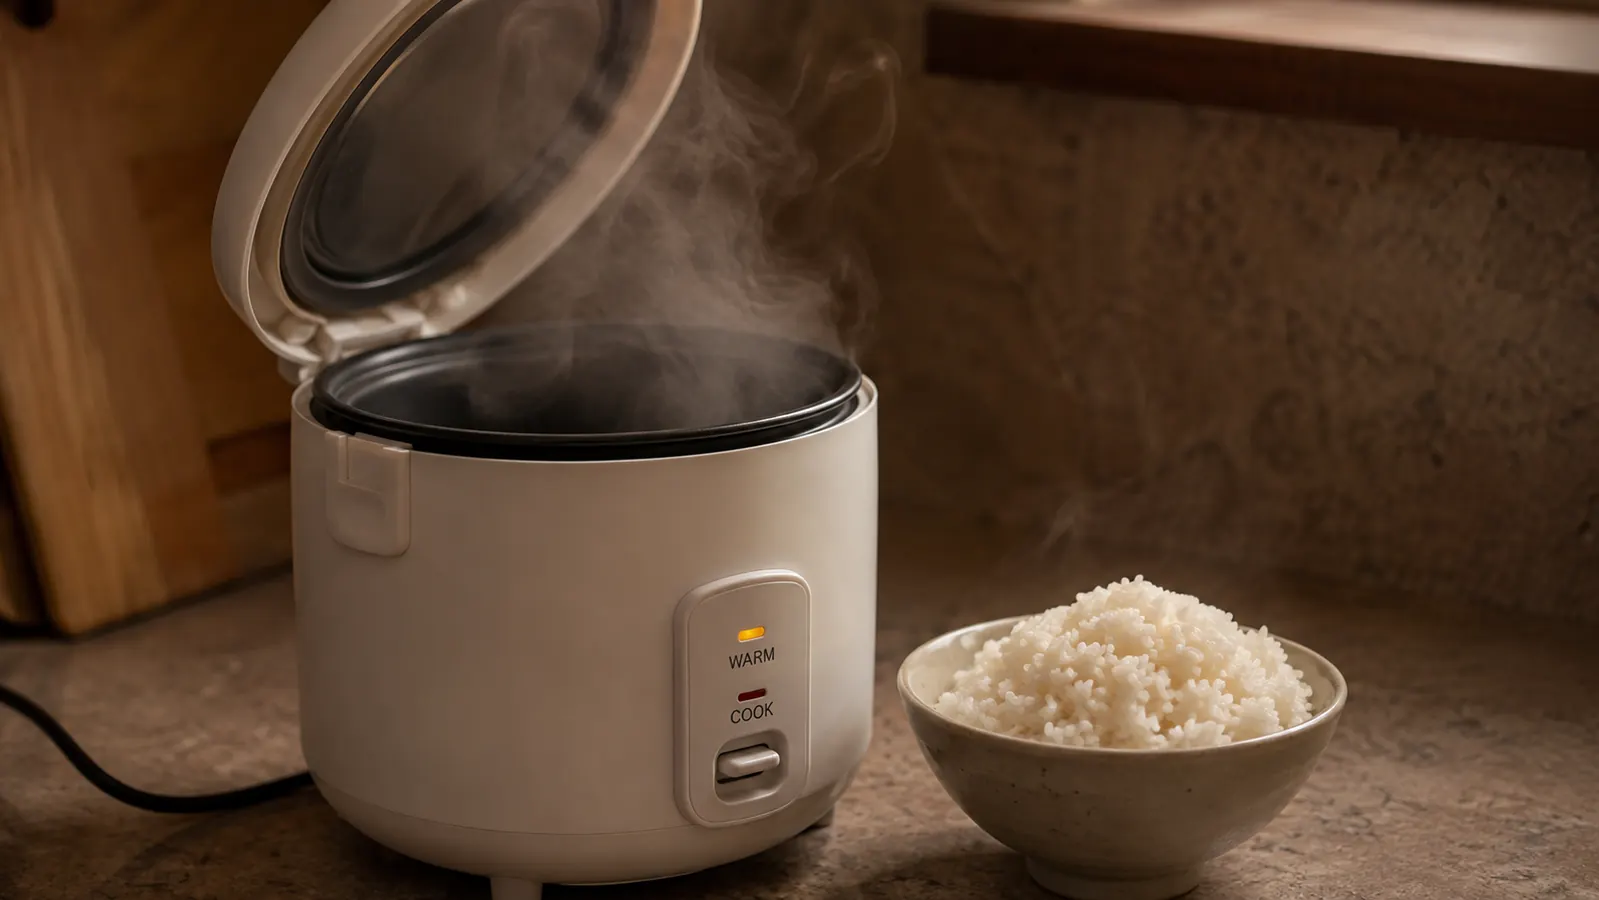
Rice for one sounds like the easy part of cooking. It isn't. Stovetop rice ratios are built for four servings, and when you try to scale a big pot down to two-thirds of a cup, the water evaporates faster than the rice can absorb it, or it doesn't evaporate fast enough and you're left with rice soup instead of rice. I've stood over a saucepan at 9:40 at night, watching the bottom layer go from done to scorched in under two minutes, more times than I want to count, and thrown out more half-finished batches than I've actually eaten. A pot that size on a big burner never behaved the same way twice.
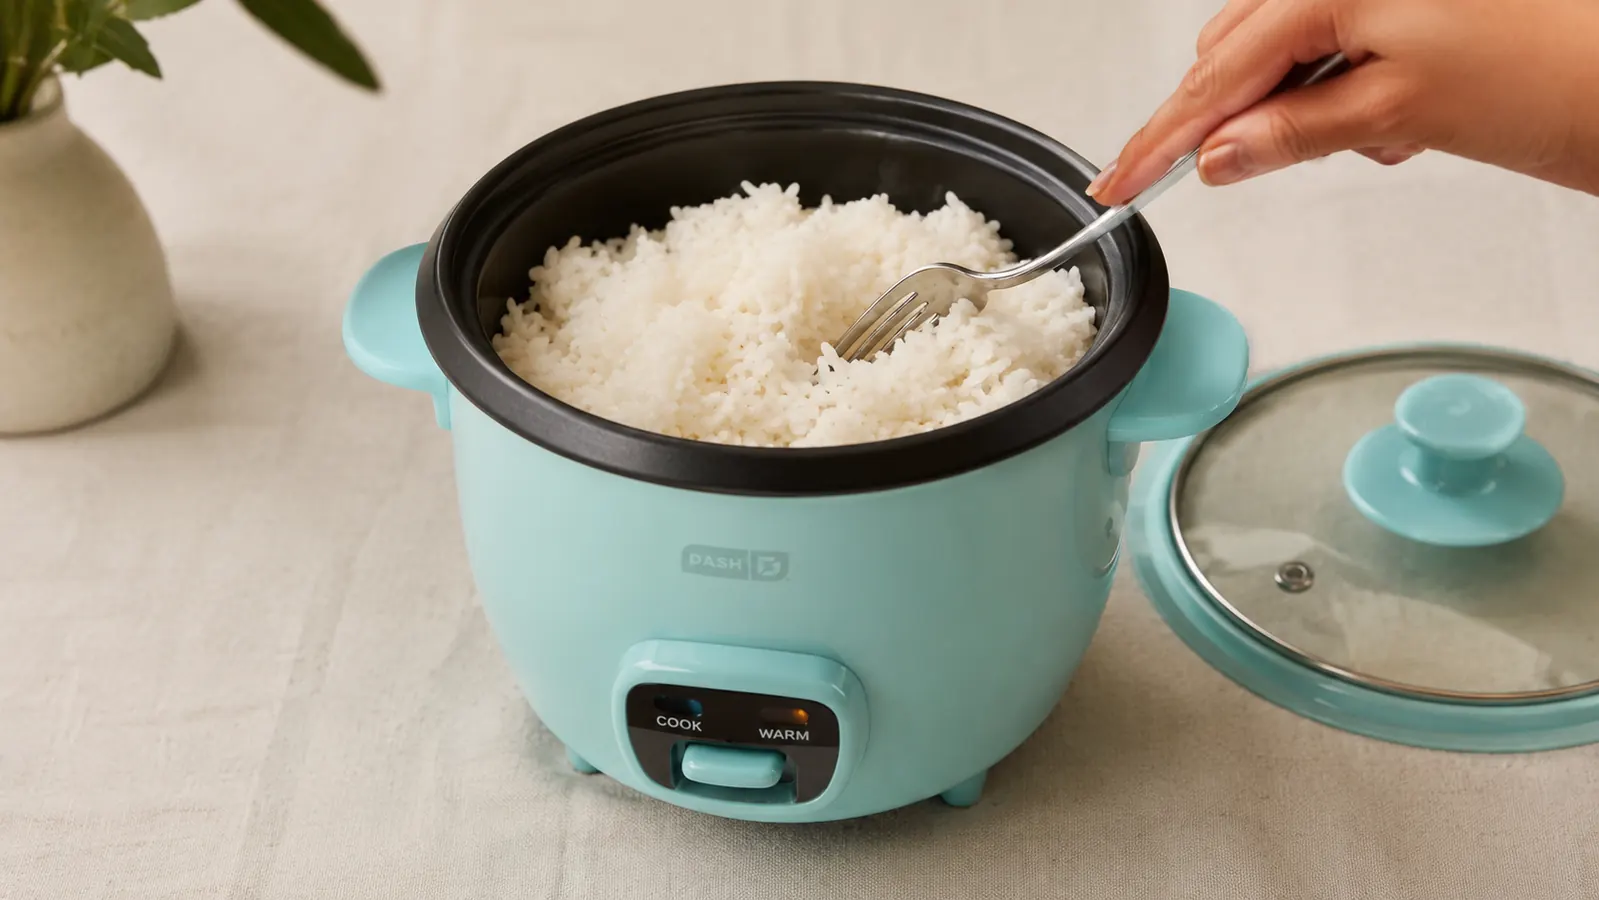
What actually fixed it for me was taking rice off the stovetop entirely and handing the job to a mini rice cooker. Mine is a DASH, the 2-cup ceramic-pot version, and it's one of the only gadgets in this kitchen that does exactly one job the same way every single time, whether I'm cooking at six in the evening or well past ten. Below is the process I actually use, in order, for a single serving of rice, along with the adjustments that carry over to oatmeal and quinoa on nights I want something other than rice. If you want the longer story of how I landed on this specific cooker after trying a couple of others first, I wrote about that here. It also means I'm not keeping a second appliance around just for oatmeal or quinoa, since the same 2-cup pot handles all three without a rinse-and-swap between gadgets.
Stop scaling a family-size ratio down for one bowl of rice
The DASH Mini Rice Cooker measures water using the marked lines inside the pot itself, so there's no math for a single serving. See today's price on Amazon and check if the 2-cup size fits your kitchen.
Amazon Check Today's Price on Amazon →Step 1: Measure the rice and water before you turn anything on
A single serving of rice is about a third of a cup, dry, give or take depending on how hungry I am. In the DASH's 2-cup pot, that amount lines up almost exactly with the lowest fill mark, and the water line sits just above it, so I'm not eyeballing a ratio that was really written for a family of four and hoping it scales down. I fill the pot to the rice line, add water up to the matching water line, and that's the entire measuring step handled in under a minute.
The pot itself is the measuring cup. I stopped dirtying a separate measuring cup for this a while back, and that matters more than it sounds like it should when the sink already has last night's dishes sitting in it and I don't want to add to the pile. If I'm cooking two portions instead of one, most of these small cookers have a second set of lines for that too, so it's still not a math problem at nine at night, it's just reading a different line.
This is also where people get tripped up switching over from a stovetop, because stovetop ratios and rice-cooker ratios aren't identical. A rice cooker holds a more even, gentler heat than a burner does, so it doesn't need quite as much water to keep the bottom layer from catching before the top is done. Follow the lines marked inside the pot rather than an old stovetop recipe and you'll get a more consistent result on the first try.
Step 2: Rinse the rice until the water runs mostly clear
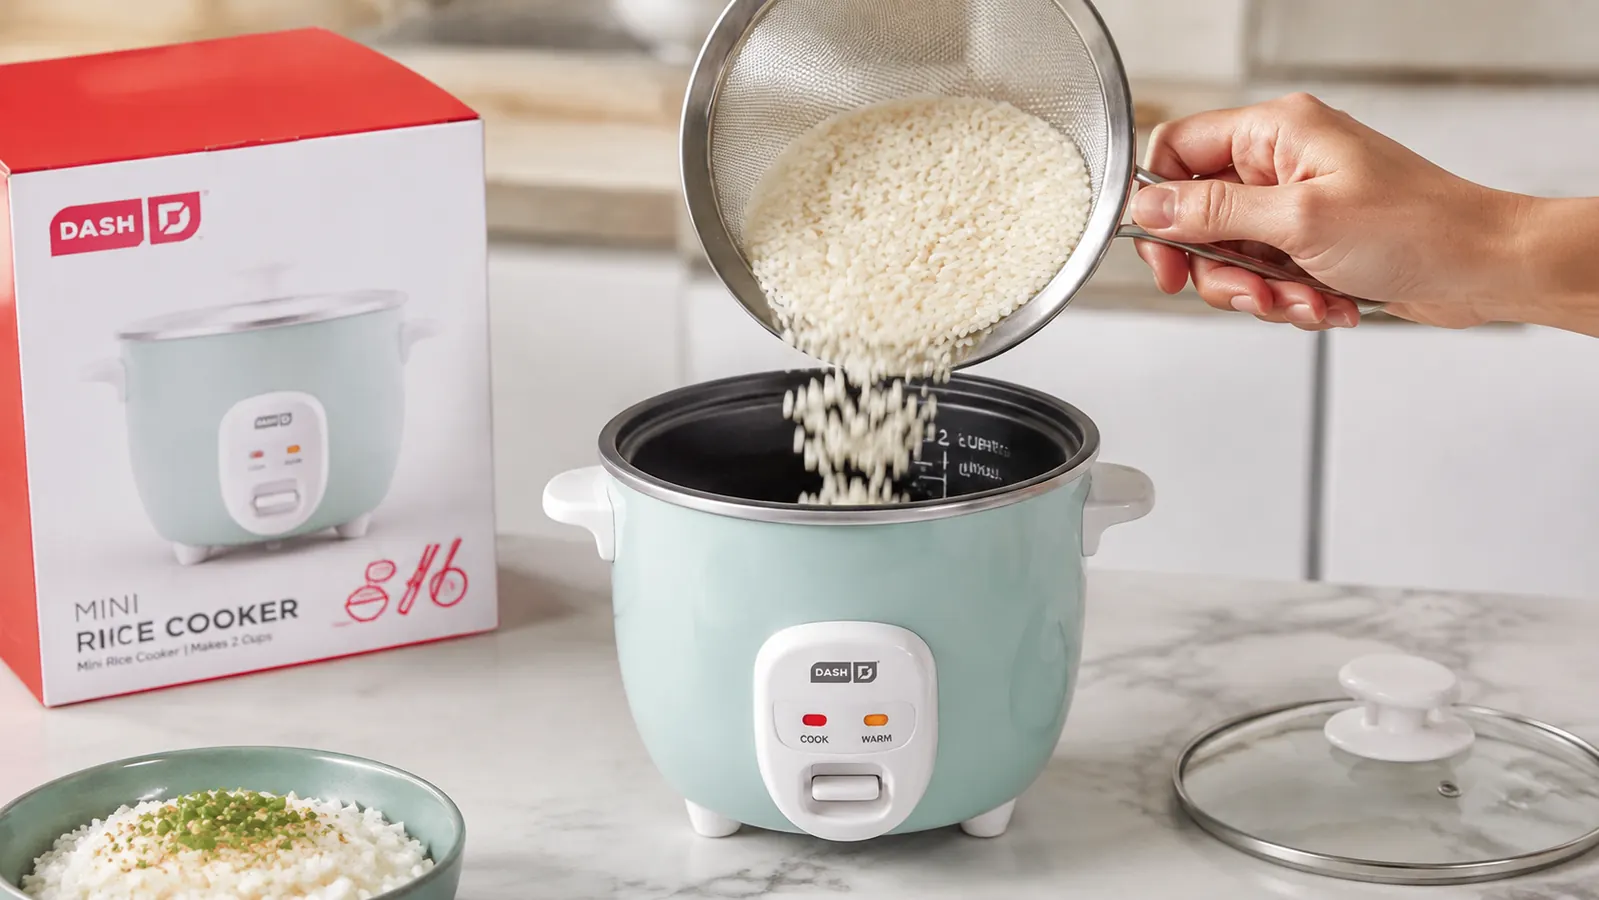
I rinse in a separate bowl, not in the ceramic pot itself, because scrubbing loose starch out with a fine-mesh strainer against a nonstick coating is a fast way to scratch it. Cold water, a swirl with one hand, drain it out, and repeat two or three times until the water isn't cloudy white anymore. The whole thing takes about ninety seconds standing at the sink.
Rinsing isn't optional if you want individual grains that separate on a fork instead of a sticky clump that holds together in one mass. Some dishes actually want that starchier texture, sushi rice for one, but for a plain bowl of rice next to dinner, rinsed is what I reach for. Once it's rinsed and drained, it goes straight into the pot, right on top of the water I already measured in during step one.
I've tried skipping the rinse when I was in a hurry, and the rice still cooks, it just turns out stickier and a little more likely to clump on the fork. Not a disaster, just not what I actually want on most nights, so the ninety seconds has stayed part of the routine.
Step 3: Start the cooker and leave the lid alone
This is the step that actually saves the evening, more than any of the others. I start it and go do something else, chop a vegetable, feed the cat, answer a text, whatever's waiting, because the cooker shuts itself off and switches over to keep-warm the moment the rice is finished. There's no timer set on my phone, no standing over a pot listening for it to boil dry, no half-remembered mental countdown.
Lifting the lid partway through to peek lets steam escape and throws off the timing, so I've trained myself not to do it. The one real exception is the first time you use a brand new cooker, when it's worth watching the whole cycle start to finish just once, so you learn how long your specific batch actually takes. Pot size, how full it is, and even altitude all nudge that number around a little.
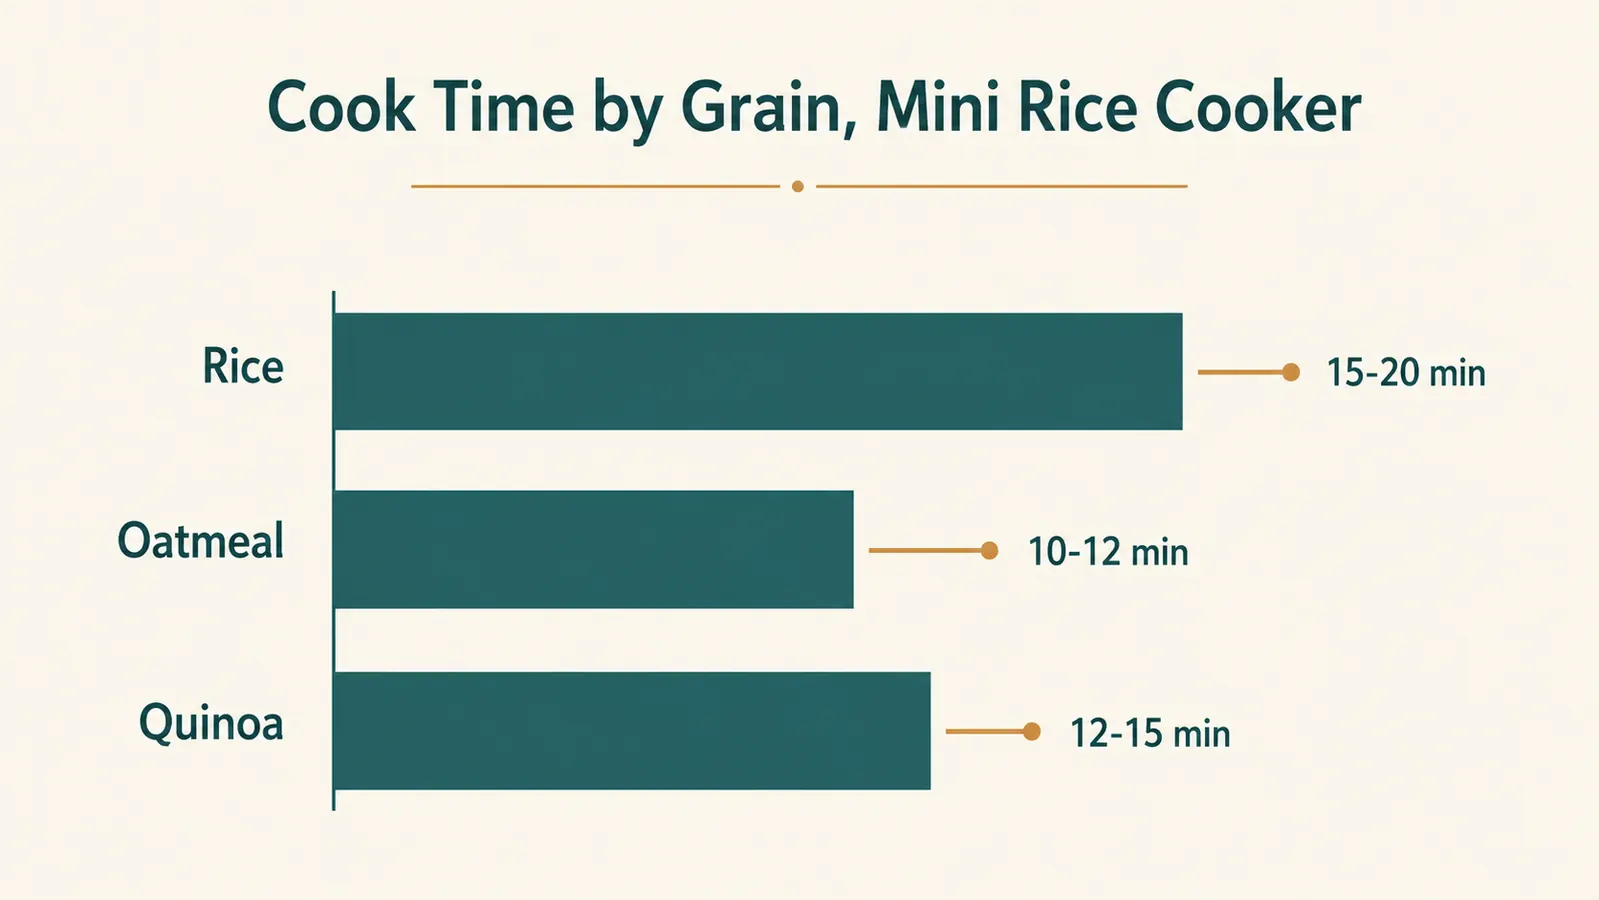
For a single serving in mine, that lands somewhere around 15 to 20 minutes, though at this point I've stopped timing it with a clock and just wait for the indicator light to switch from cook to warm. I go into more detail on the timing quirks, including one batch that came out gummy because I filled to the wrong water line, in the full review here.
Step 4: Let it rest before you lift the lid
When the indicator light switches to keep-warm, the rice is cooked, but it isn't quite done resting yet. I leave it alone for five to ten more minutes with the lid still on, which gives the steam time to finish evening out the moisture so the top layer isn't noticeably wetter than the rice sitting at the bottom of the pot. Skip this and the top few spoonfuls tend to come out slightly underdone.
After the rest, I fluff it with a fork, not a spoon, working from the edges of the pot toward the middle instead of pressing straight down and mashing the grains against the ceramic. It takes maybe thirty seconds, and it's the difference between rice that looks like rice on the plate and rice that looks like it got stepped on.
I serve it straight from the pot instead of transferring it to a separate bowl to cool, since the ceramic holds heat well enough that the last bite is close to as warm as the first. If I'm not eating right away, I leave the cooker on keep-warm for up to half an hour without the rice drying out or scorching on the bottom, which a stovetop pot left on low never managed to do.
Step 5: Adjust the ratio when you're not cooking rice
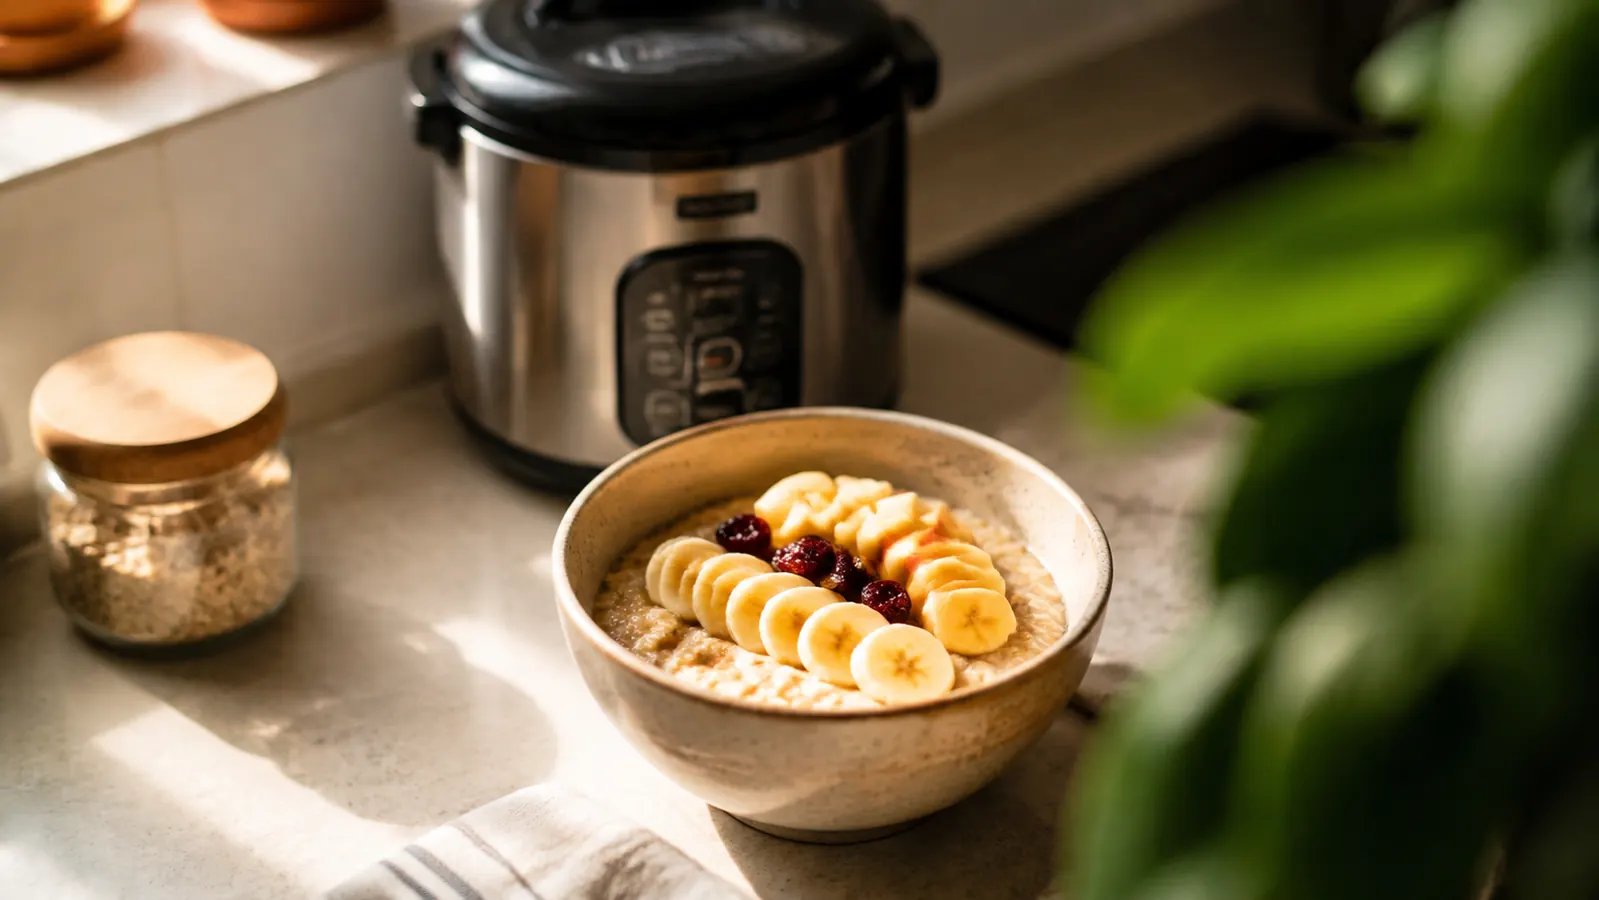
The same pot handles oatmeal and quinoa, but the ratio and the timing both change. For oatmeal on the DASH, I use closer to a 1 to 2 ratio, one part oats to two parts water or milk, and I stir the milk in about halfway through the cycle rather than dumping it all in at the start, since it tends to foam up and try to climb over the edge of a pot this small otherwise. It usually finishes in about 10 to 12 minutes.
Quinoa wants more water than rice by volume, closer to 1 to 1.5, and it benefits from the same rinse step from earlier, since raw quinoa has a naturally bitter coating that rinsing washes away. It comes out a little faster than rice does in mine, somewhere around 12 to 15 minutes, and the same walk-away, let-it-rest approach from steps three and four still applies.
None of this needs a separate appliance for each grain sitting on the counter. That's really the whole case for a mini rice cooker earning counter space in a kitchen that doesn't have much to spare, it's handling rice, oatmeal, and quinoa duty out of one pot with one counter footprint, instead of three appliances competing for the same six inches next to the stove.
What Else Helps
A few small habits make the whole process smoother without adding a step. I keep a dry scoop tucked right inside the rice bag instead of digging through a drawer for a measuring cup every time. If I already know I'll want rice the next evening, I rinse it the night before and leave it covered in the fridge so it's ready to go straight into the pot. And I wipe the ceramic pot out right after eating instead of letting a rice crust dry onto it overnight, because a dried crust needs soaking either way, and I'd rather do that soak while I still remember it happened.
If you're weighing this style of cooker against a bigger one, or wondering whether a basic model beats one with more buttons and settings, I compared two of the common choices here, including the situations where a larger cooker actually does make more sense than a mini one. For most single servings on an unpredictable schedule, though, the smaller pot has been the one that stays out on the counter instead of getting shoved into a cabinet and forgotten.
None of these habits require buying anything else. They're just the small order of operations that turned a ten-minute chore into something I don't think about anymore, which was really the whole point of moving rice off the stovetop in the first place.
Leftover rice reheats better than I expected too. A splash of water stirred in before microwaving keeps it from drying out into little hard pellets, and I've started doing that instead of eating it cold straight out of the fridge, which used to be the fallback on nights I didn't feel like waiting on a fresh batch.
Some weeks I'll run the cooker twice in one evening, once for that night's dinner and once for a container of rice to take with lunch the next day, rinsing and measuring the second batch while the first one is still resting under its lid. It adds maybe five minutes to the evening and saves an entire extra cooking session later.
The rice cooker didn't make me a better cook. It just stopped punishing me for cooking at the wrong hour.
One pot, three grains, no more scorched pans
If a stovetop pot of rice has burned on you more times than you'd like to admit, the DASH Mini Rice Cooker handles rice, oatmeal, and quinoa with the same walk-away routine described above. Check today's price on Amazon.
Amazon Check Today's Price on Amazon →